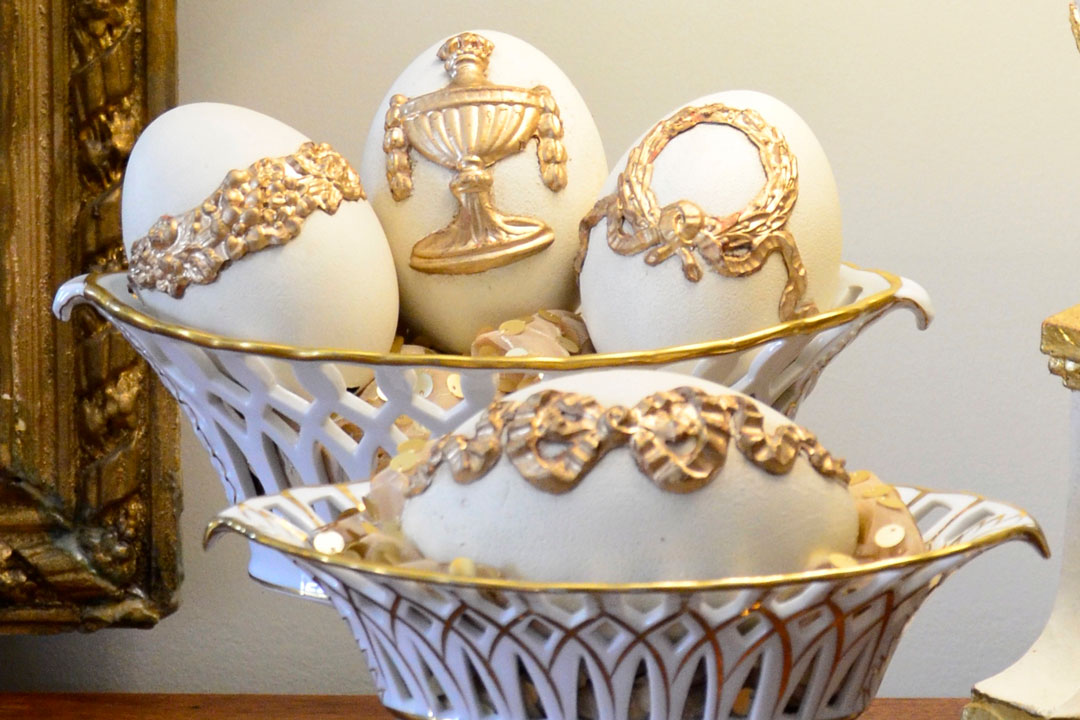
In my very first entertaining book, Easy Hospitality, published in the ’90s, I described how to create gold- and silver-leaf eggs for elegant Easter tablescapes. I still enjoy displaying those eggs because they are beautiful and timeless. To create the gold- and silver-leaf eggs, apply appliqués of lace and ribbons to large plastic eggs with glue. When dry, paint the eggs with terra-cotta paint. When dry, apply adhesive sizing. Dry, then using a stencil brush, rub on the gold- and silver-leaf sheets. The process takes a little time, but the results are obviously well worth the effort.
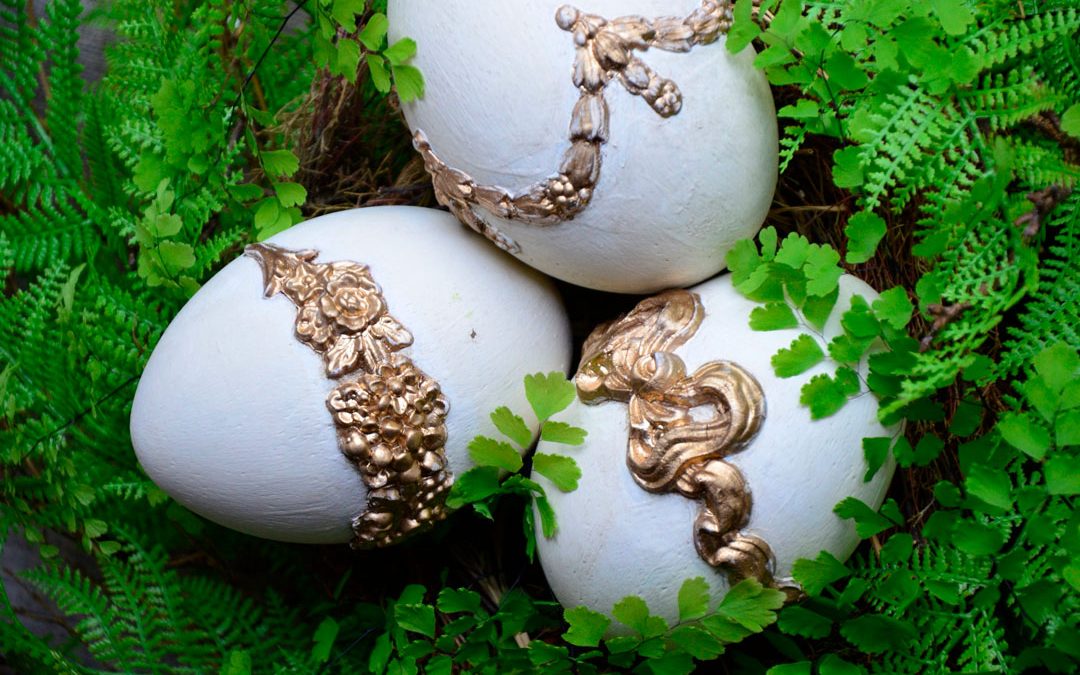
I think these elegant country French eggs will also withstand the test of time and be some of your favorite Easter decorations because they are also elegant and beautiful with a designer look. The idea came from some antique gold and cream French candlestick lamps with a wonderful patina that I love. So I decided to create the same French style for Easter eggs. I used large eggs to make a bigger impact, but you will only need a few eggs to display on the dining table or in special containers around the house. They are also perfect in nests of greenery or attached to wreaths.
So collect a few supplies and some eggs, and enjoy creating your own timeless, designer Easter eggs that will be the centers of attention any place they are displayed.

SUPPLIES NEEDED:
Disposable gloves
Eggs: wooden, plastic, or real blown-out emu or ostrich eggs
Efex decorative latex appliqués
Old White Chalk Paint
Gold wax or gold-leaf paint
Contact Cement
Walnut or dark paste wax
DIRECTIONS:
1. Choose eggs and appliqués.
2. Paint eggs with Old White Chalk Paint. Dry completely.
3. Paint appliqués with gold wax or gold-leaf paint. Dry completely.
4. Wearing disposable gloves, attach appliqués to eggs with contact cement. Dry completely.
5. Wearing disposable gloves, rub dark wax on eggs with a soft cloth. Dry completely.
6. Place in containers or nests or attach to wreaths, and enjoy!


