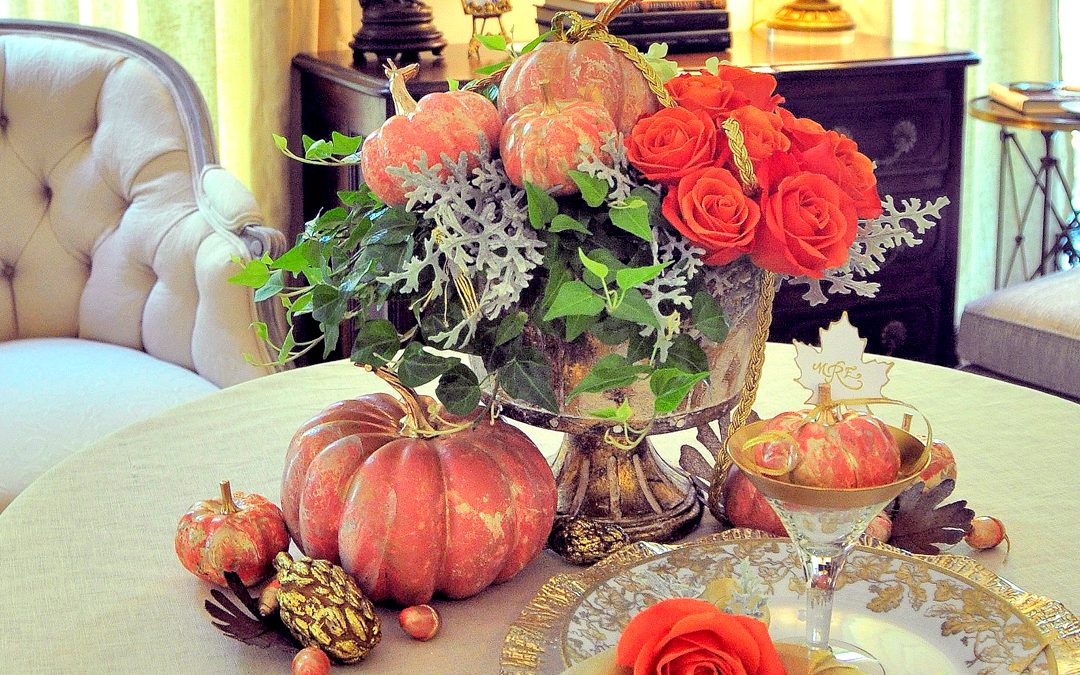
Marbleized pumpkins become the center of attention in beautiful fall tablescapes. First gather materials from your own backyard. Colorful leaves and berries are everywhere, and cones and nuts come in many different shapes, sizes, and textures. Arrange your bounty on the table with a few branches, and then add a few designer pumpkins in stunning marbleized colors, and you are set for the glorious season.
I love the look of Italian marbleizing on paper and other objects of art and used the same ancient and simple techniques and materials to add the lovely combination of swirling colors to simple craft-store pumpkins. I tried two different methods using the same principle of oil on water, which are substances that do not combine. The oil-based liquids will float on the surface of the water until a piece of paper or an object is dipped into it to collect the colors. I used 3 different colors of nail polish on water for the smaller pumpkins and 3 different colors of oil-based spray paint on water for the larger pumpkins, and both materials achieved outstanding results.
So, pick up some craft store pumpkins and gourds with wonderful shapes and sizes displaying artful stems, plus three colors of nail polish, or three cans of oil-based spray paint, and let the antique art of Italian marbleizing begin so you can enjoy a beautiful designer tablescape this fall season.
YOU’LL NEED:
Disposable pans
Disposable rubber gloves
Real pumpkins or gourds or craft-store pumpkins or gourds
3 colors of nail polish (one being metallic gold, silver, or bronze) or 3 colors oil-based spray paint (one being metallic gold, silver, or bronze)
Several wooden skewers
Toothpicks in floral foam or a drying rack
Gold-leaf, metallic silver paint, or metallic bronze paint and brushes
Spray sealer for pumpkins marbleized with oil-based spray paint to add shine, if desired
HOW TO MARBLEIZE:
For more Easy-Does-It ideas from Patty Roper, be sure to subscribe to Mississippi Magazine! Get your subscription here!


