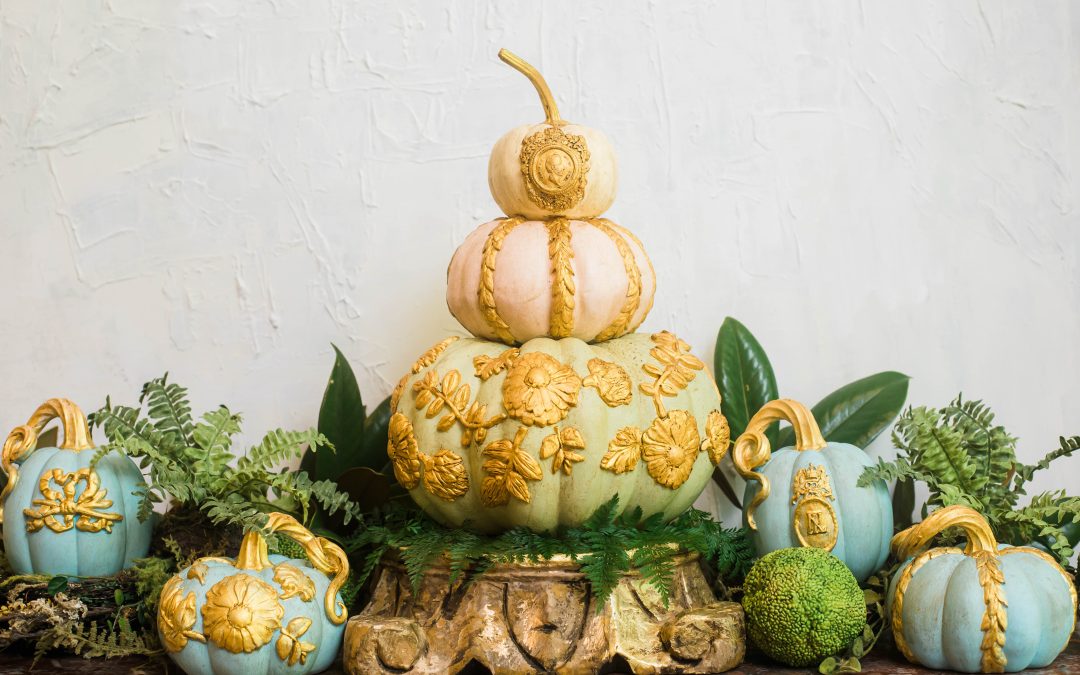
You only need a few supplies and a little time to add a bit of elegance to your fall décor. These beautiful pumpkins are crafted from simple craft store pumpkins, clay molds, paint, and finishing wax. They are fun to create, and the results are amazing. This is most certainly a girlfriend project! So, gather the supplies, invite some girlfriends for a craft day and lunch, and let the fun begin!

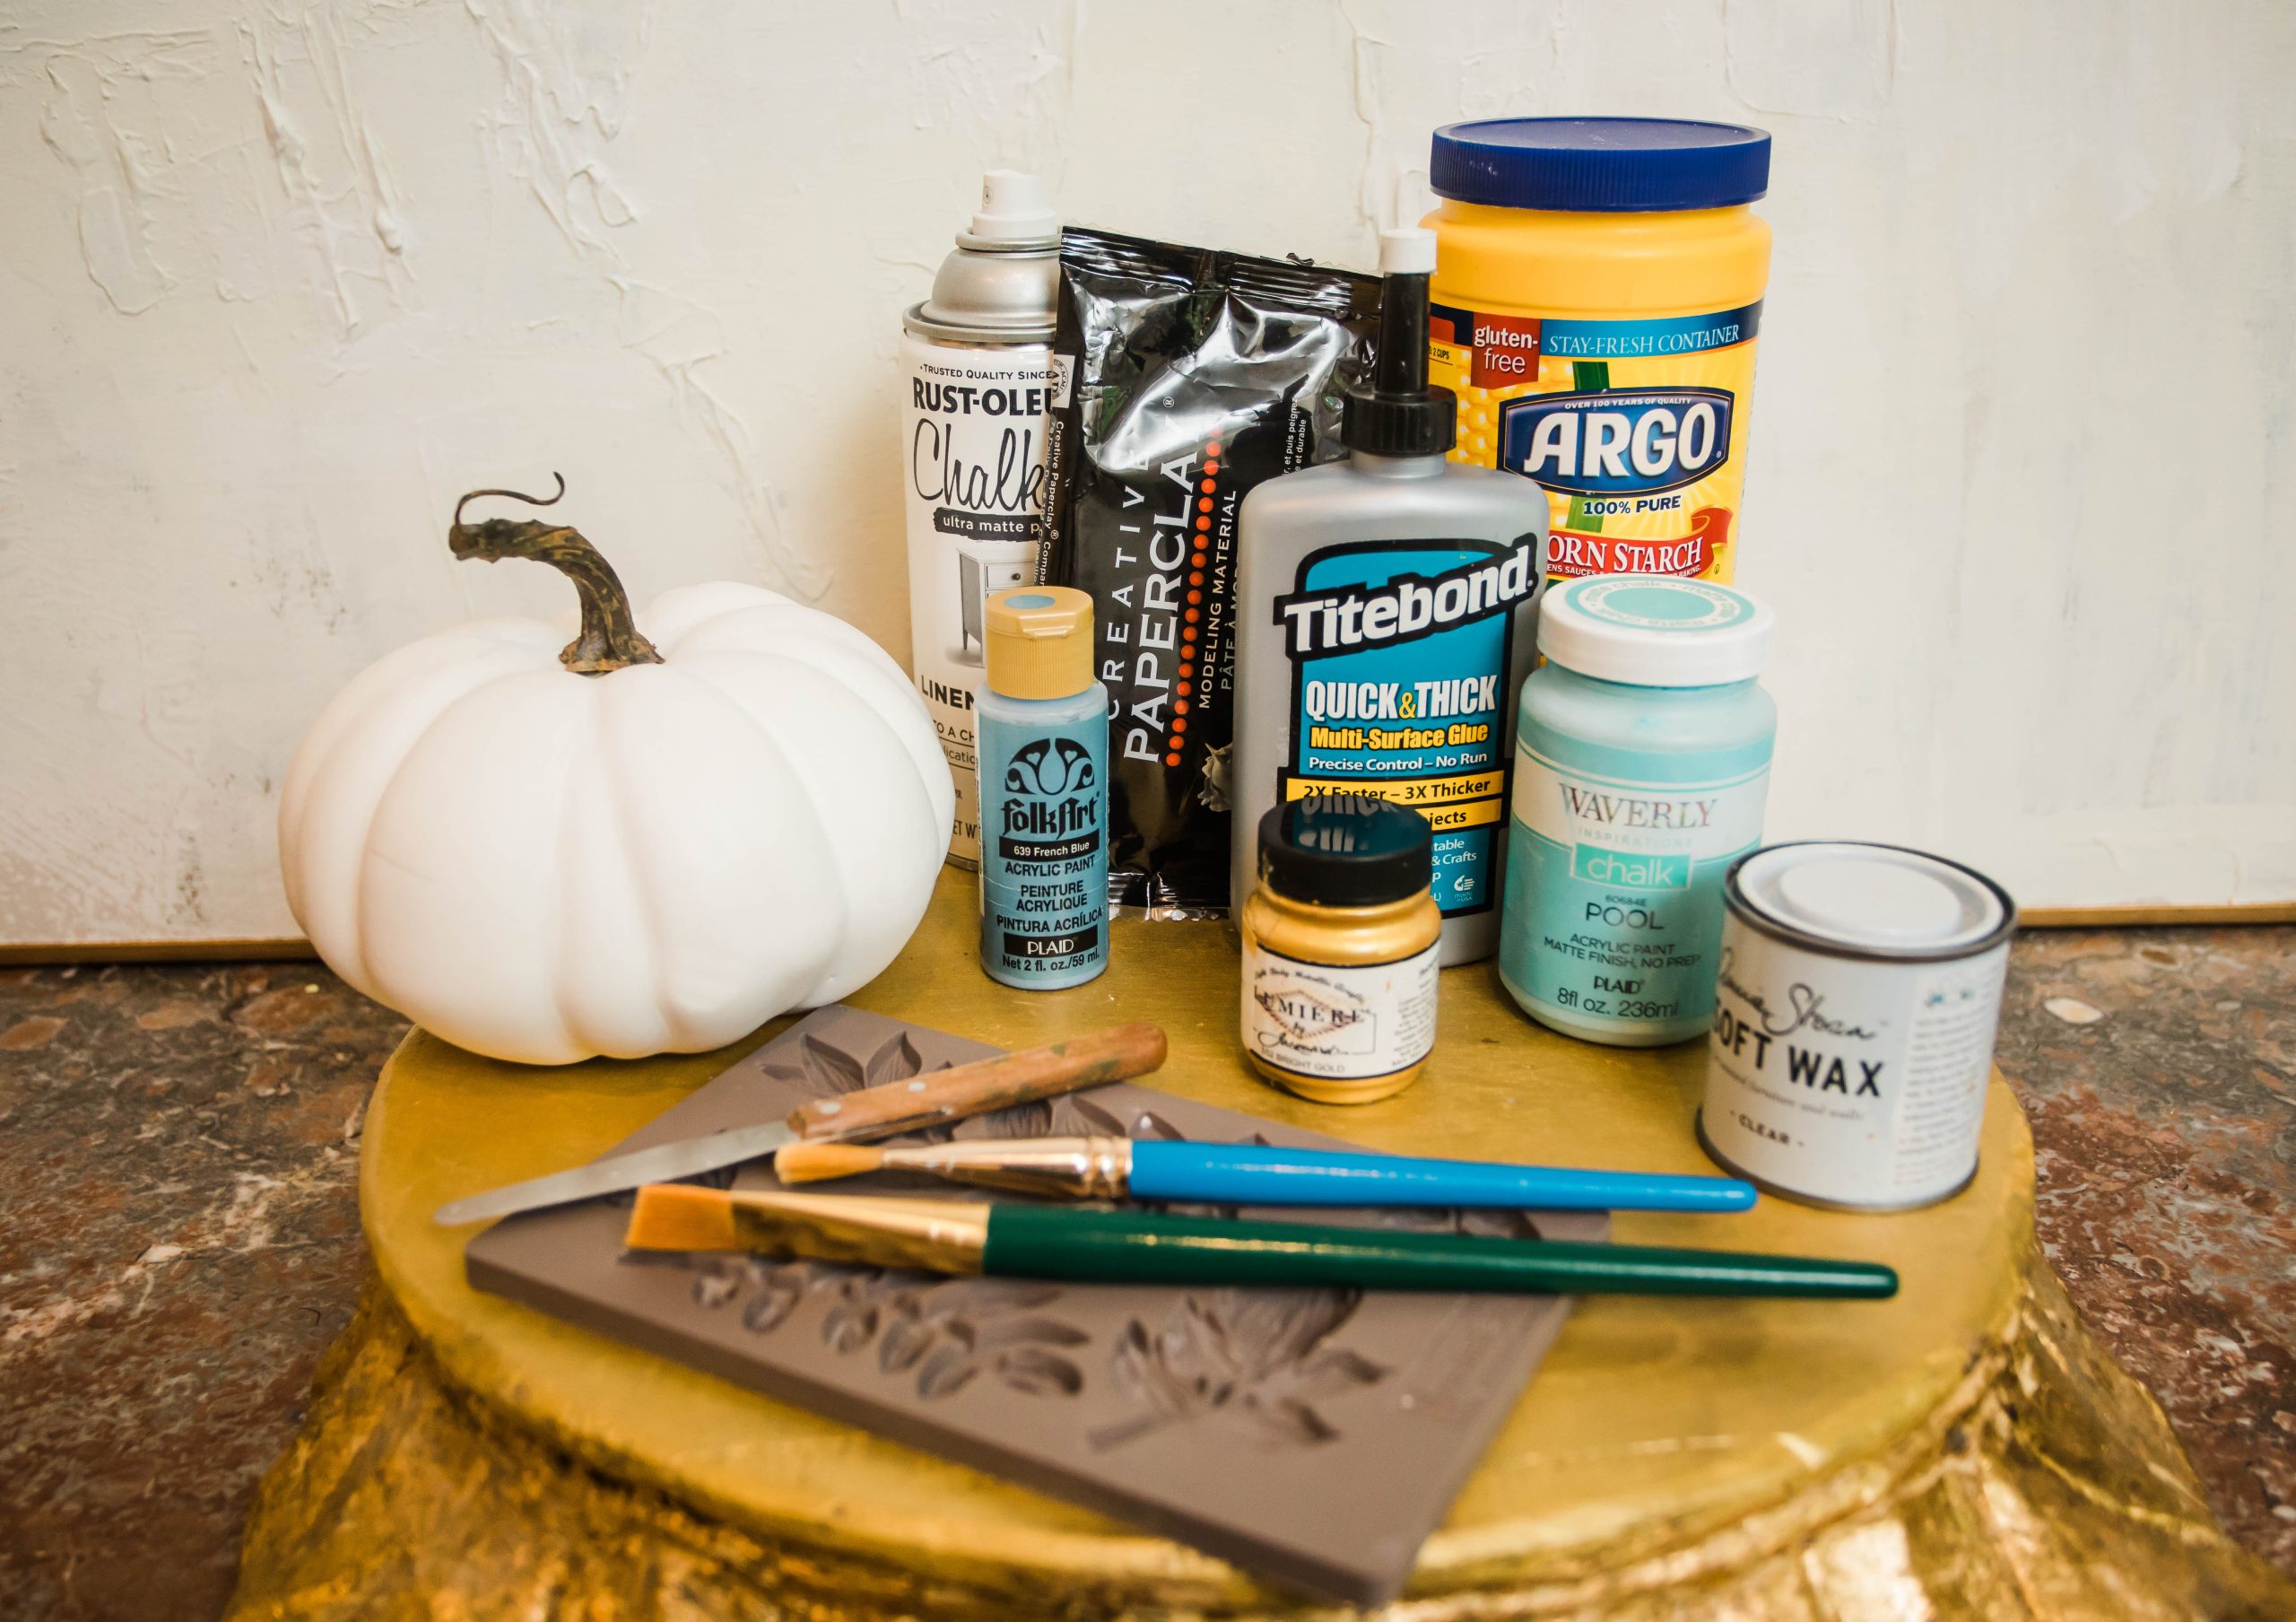
You will need:
Pumpkins: available from craft stores
Silicone molds: Prima Marketing Moulds and Re-Design Moulds are available from Amazon, and IOD Moulds are available from ironorchiddesigns.com
Cornstarch
Creative Paperclay: available from craft stores and Amazon
Paint brushes, soft cloth, and a palette knife
Titebond Quick and Thick Glue: available from Lowes and Amazon
Chalk paint or acrylic paint: available from craft stores and Amazon
Jacquard Lumiere Metallic Bright Gold Paint: available from Amazon
Clear and Dark finishing Wax: available from Annie Sloan and Amazon
Instructions:
1. Paint the pumpkin with white chalk paint, and allow it to dry.
2. Dust silicone mold with cornstarch. Squeeze a small amount of clay in your hands until soft and malleable. Press softened clay into the prepared mold. Smooth the top of the clay with a palette knife, and immediately, carefully remove molded clay from the mold. Brush a small amount of Titebond glue over the back of the wet molded clay piece. Place molded clay piece on a pumpkin and lightly shape it into place. Allow to dry overnight.
3. Paint the pumpkin, including molded clay piece and stem, desired color with chalk or acrylic paint. Allow to dry.
4. Paint molded clay piece and stem with Jacquard Lumiere Metallic Bright Gold Paint. Allow to dry.
5. With a cloth, rub the entire pumpkin, molded clay piece, and stem with a small amount of soft wax in clear; then rub with a little soft wax in dark to achieve desired patina. Allow to dry for several days.


